準備
wsl2からusbを認識させる
usbipdのインストール(Windows PowerShell
winget install --interactive --exact dorssel.usbipd-winubuntuへ追加パッケージをインスト―ル(wsl2・ubuntu20.04)
インストール後wsl2を再起動
sudo apt update
sudo apt install -y linux-tools-5.4.0-77-generic hwdata
sudo update-alternatives --install /usr/local/bin/usbip usbip /usr/lib/linux-tools/5.4.0-77-generic/usbip 20
usbipdの動作確認(Windows PowerShell
> usbipd wsl list
BUSID  VID:PID    DEVICE                                                        STATE
1-3    1a86:55d4  USB-Enhanced-SERIAL CH9102 (COM4)                             Not attached
1-6    0bda:5538  Integrated Webcam                                             Not attached
1-10   8087:0aaa  インテル(R) ワイヤレス Bluetooth(R)                           Not attached
usbのアタッチ
筆者の環境では、m5stackは1-3なので、これにアタッチします。
wsl2 ubuntuを起動しておく必要がありました。
> usbipd wsl attach --busid 1-3
usbipd: info: Using default distribution 'Ubuntu-20.04'.
usbipd: error: The specified WSL distribution is not running.
> usbipd wsl attach --busid 1-3
usbipd: info: Using default distribution 'Ubuntu-20.04'.
ここまでくれば、wsl2からusbが認識できているはずです。
wsl2(ubuntu20.04)でのusb認識確認
> lsusb
Bus 002 Device 001: ID 1d6b:0003 Linux Foundation 3.0 root hub
Bus 001 Device 002: ID 1a86:55d4 QinHeng Electronics USB Single Serial
Bus 001 Device 001: ID 1d6b:0002 Linux Foundation 2.0 root hub
この環境では、Device 002がm5stackです。
usbポートの確認
違うやり方がありそう。
> dmesg
[    5.991235] cdc_acm 1-1:1.0: ttyACM0: USB ACM device
usb書き込み権限付与
sudo chmod 777 /dev/ttyACM0rustのインストール
必須パッケージのインストール
sudo apt install git python3 python3-pip gcc build-essential curl pkg-config libudev-dev libtinfo5rustupをインストール
curl --proto '=https' --tlsv1.2 -sSf https://sh.rustup.rs | shldproxyをインストール
cargo install ldproxyespupのインストール
cargo install espup環境セットアップ
espup installcargo-generateのインストール
cargo install cargo-generate環境変数の設定
. ~/export-esp.shrustプログラムのビルドとフラッシュ
サンプルプロジェクトの作成
cargo generate --vcs none --git https://github.com/esp-rs/esp-idf-template cargo好きなプロジェクト名を入れ、ESP32を選択します。
プロジェクトフォルダへ移動します。
cd test実行設定変更(runnerにポート追加)
vi .cargo/config.toml

[build]
target = "xtensa-esp32-espidf"

[target.xtensa-esp32-espidf]
linker = "ldproxy"
# runner = "espflash --monitor" # Select this runner for espflash v1.x.x
runner = "espflash --monitor /dev/ttyACM0" # Select this runner for espflash v2.x.x
ビルド
cargo build実行
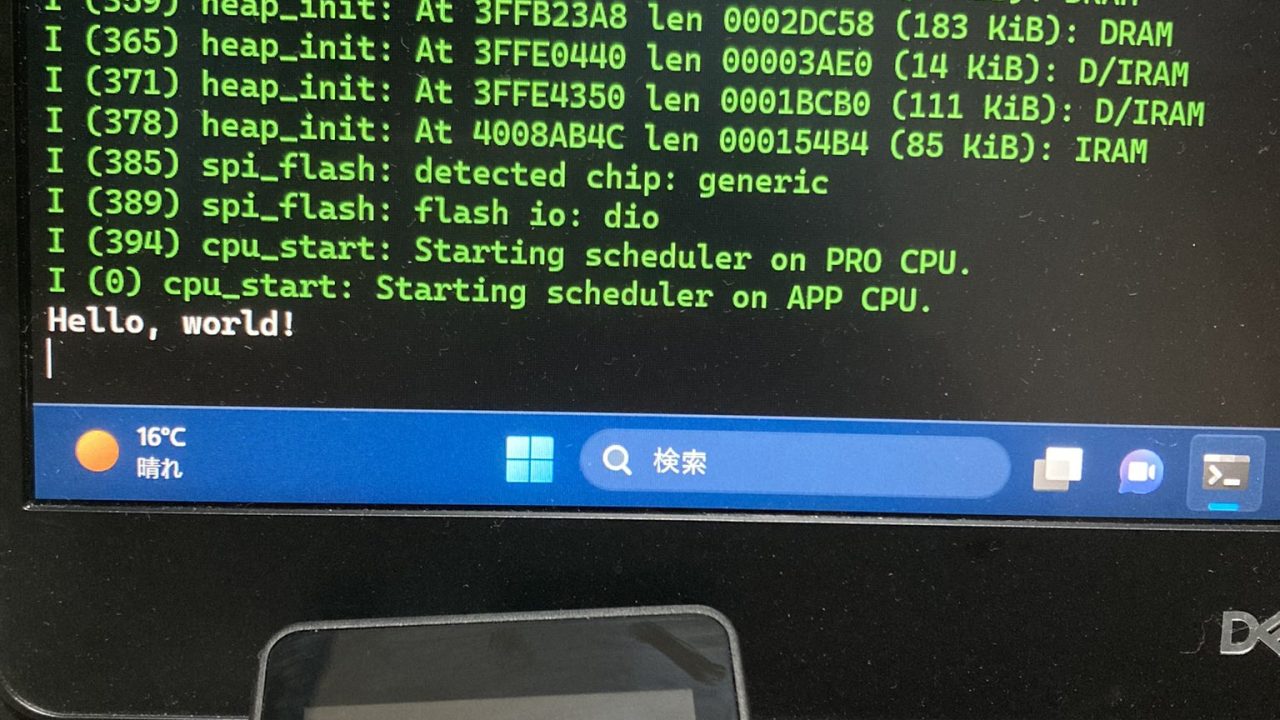
cargo runシリアルモニタが出て、Hello, world!が表示されればうまく動いています。
シリアルモニタ
ubuntuではscreenコマンドを使ってシリアルモニタできます。
sudo screen /dev/ttyACM0 115200止める時は、Ctrl+aを押して、kを押します。

